By Chris Stevens
•
September 24, 2025
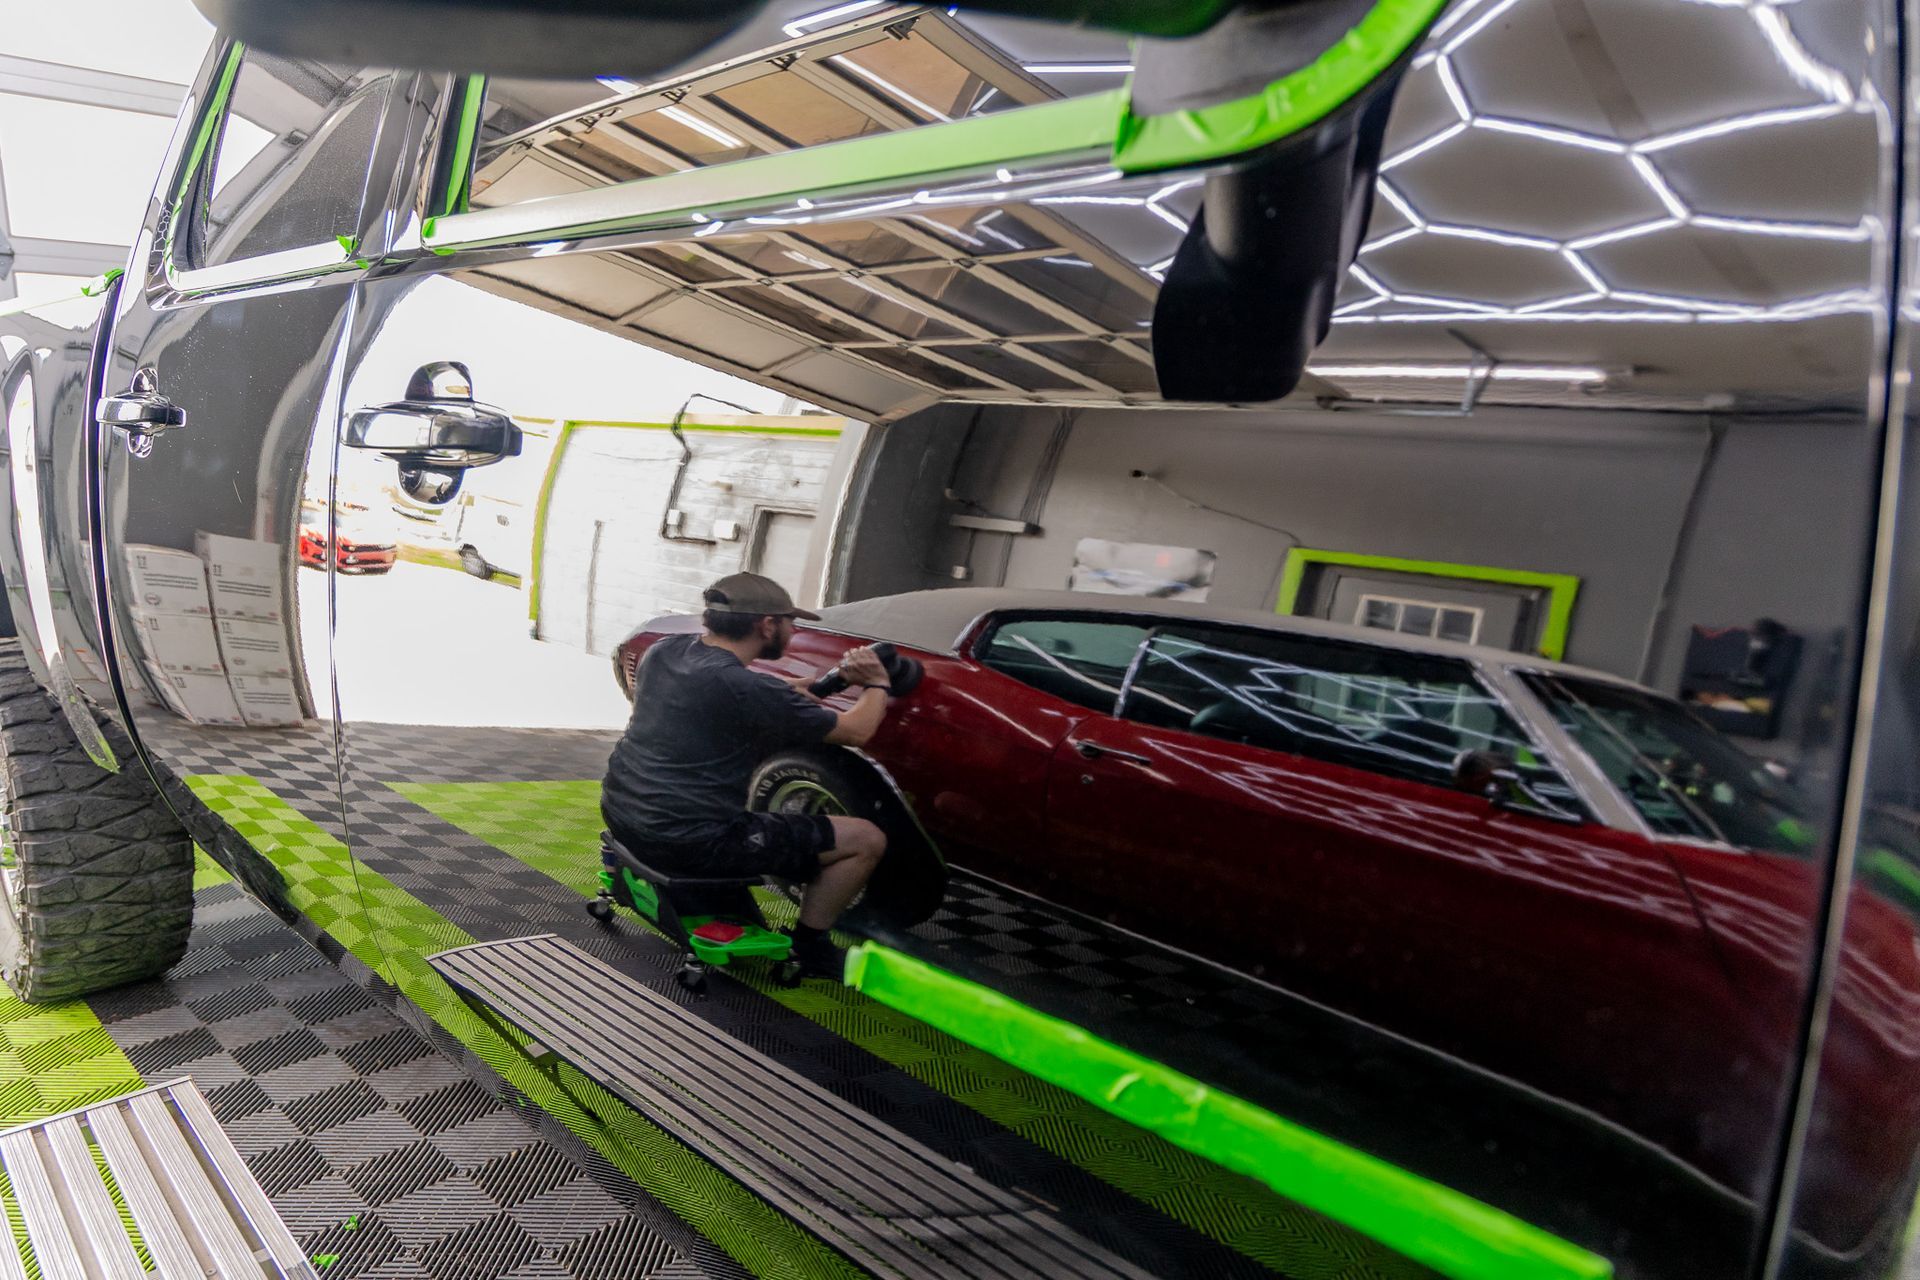
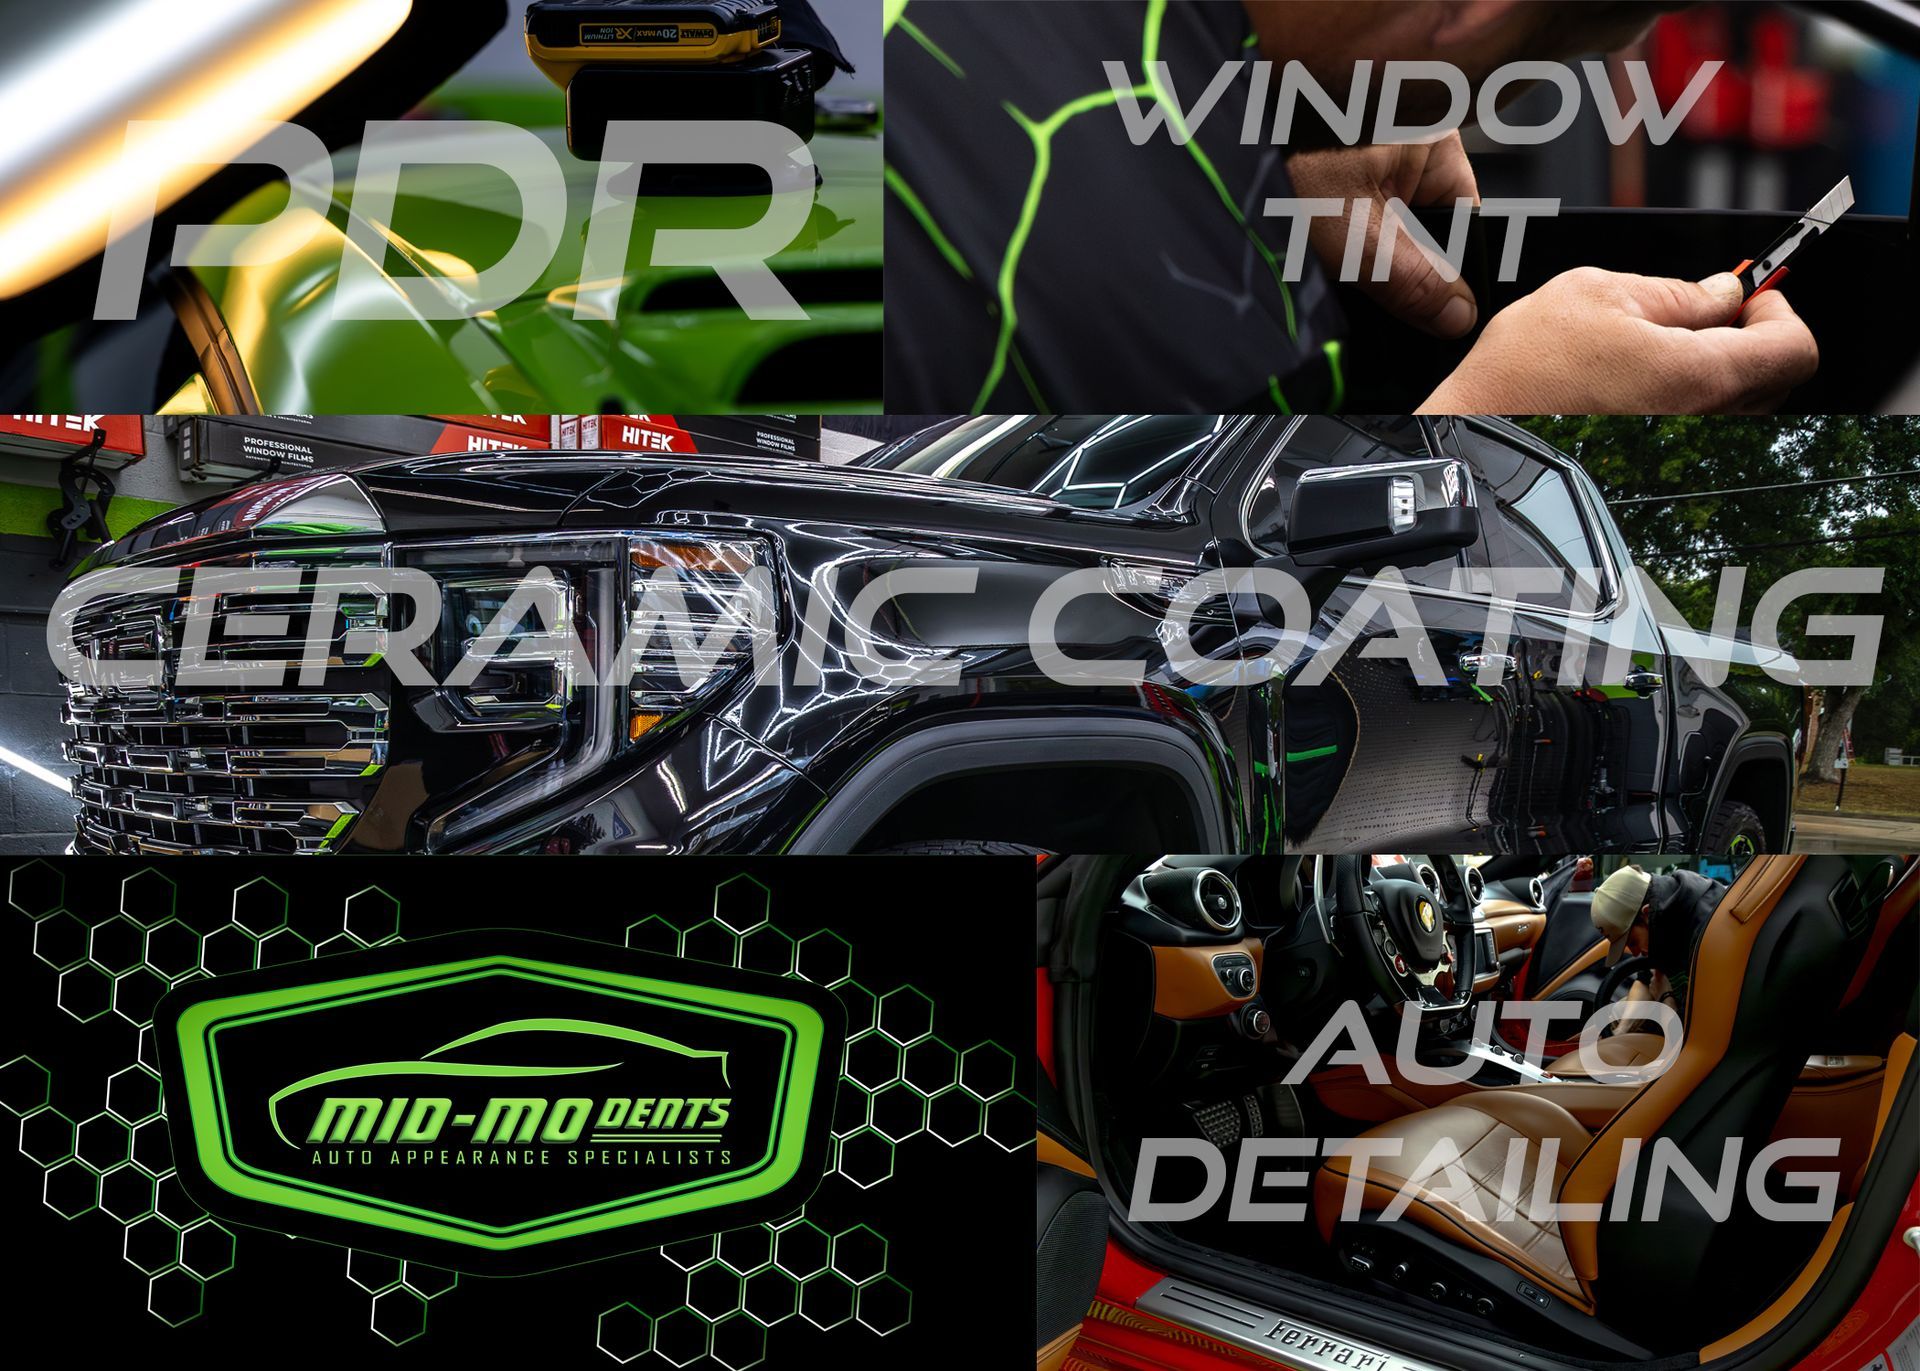
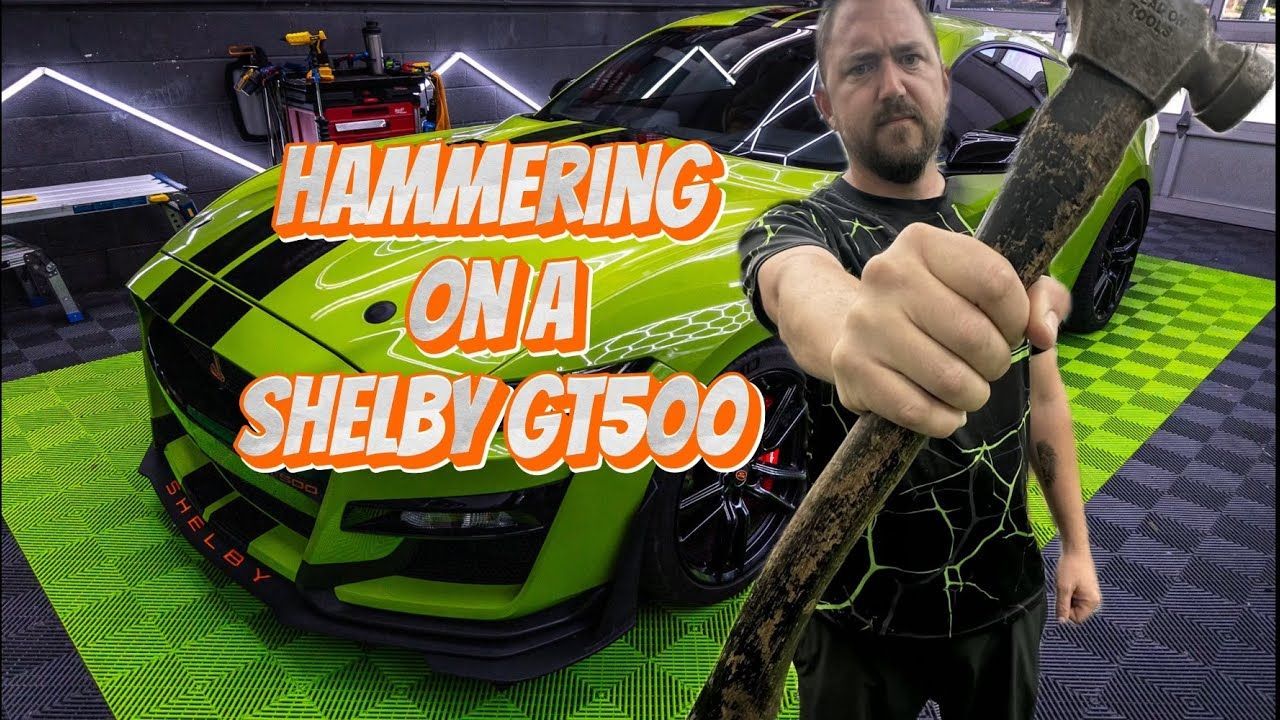
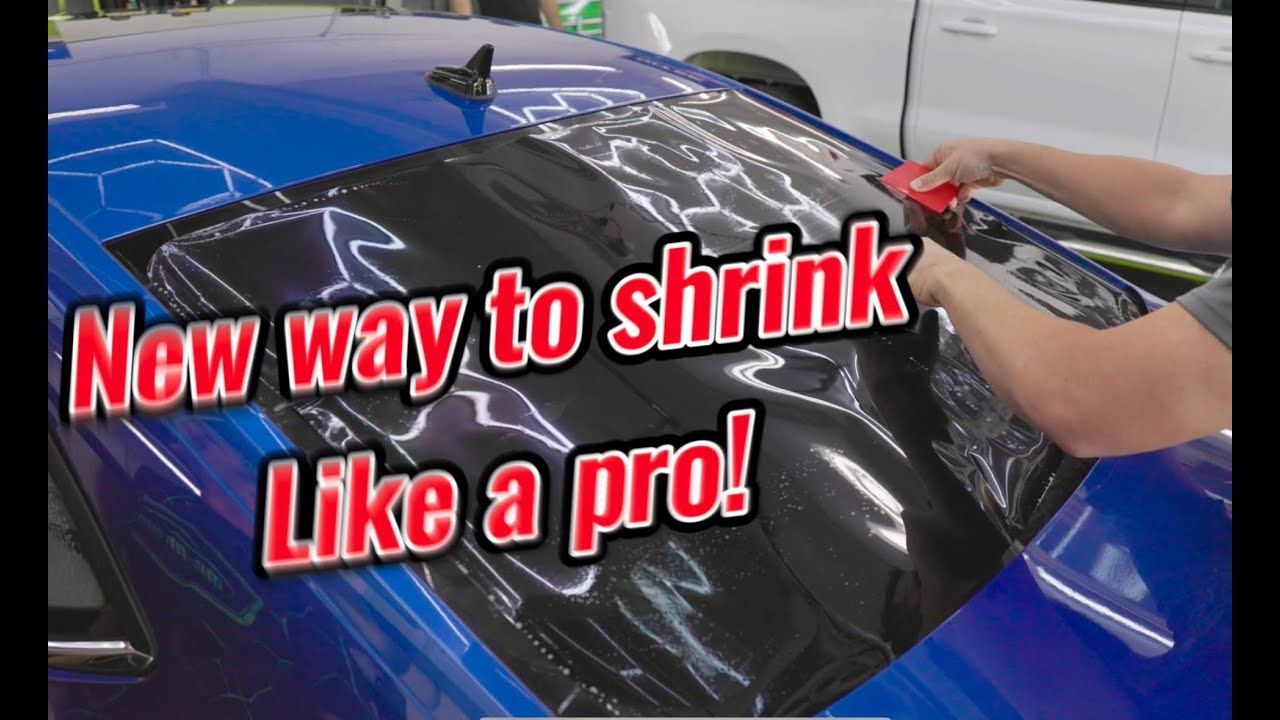
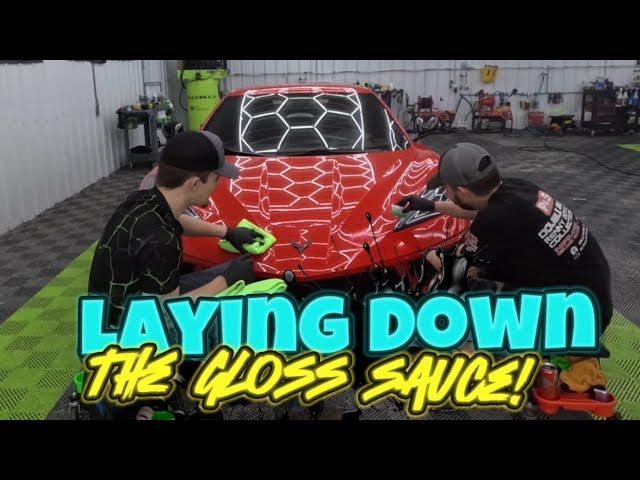
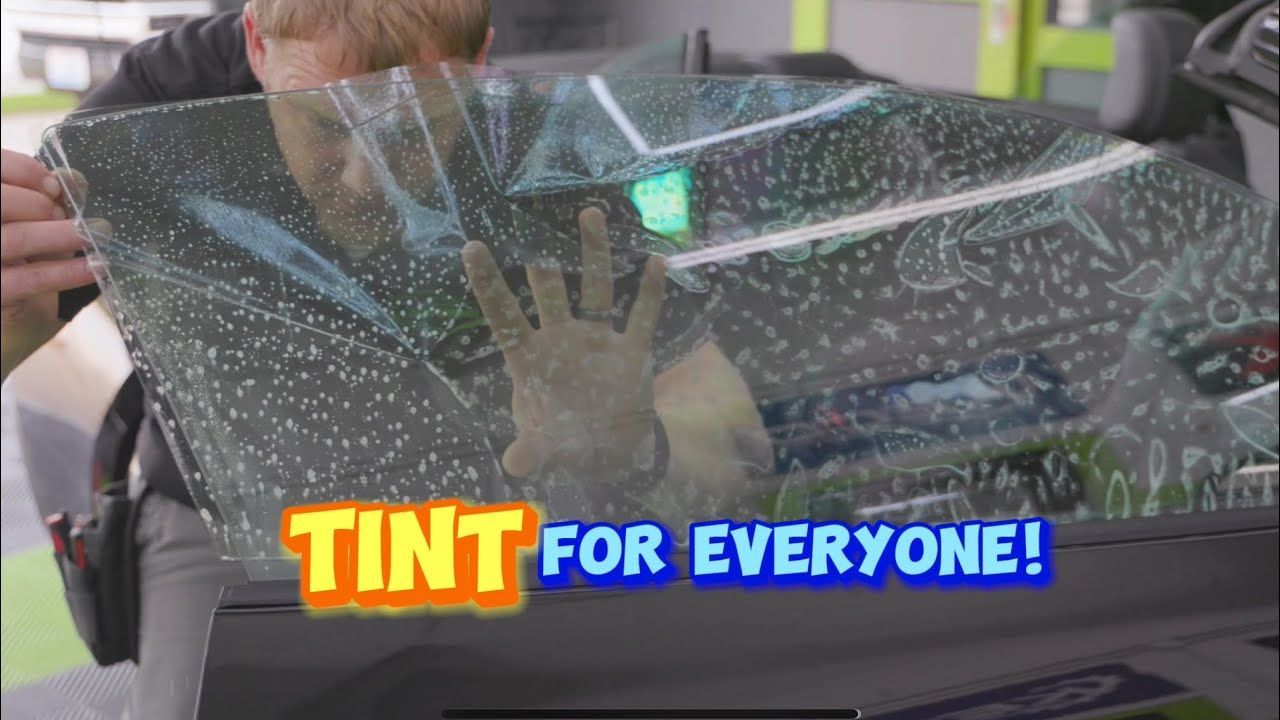
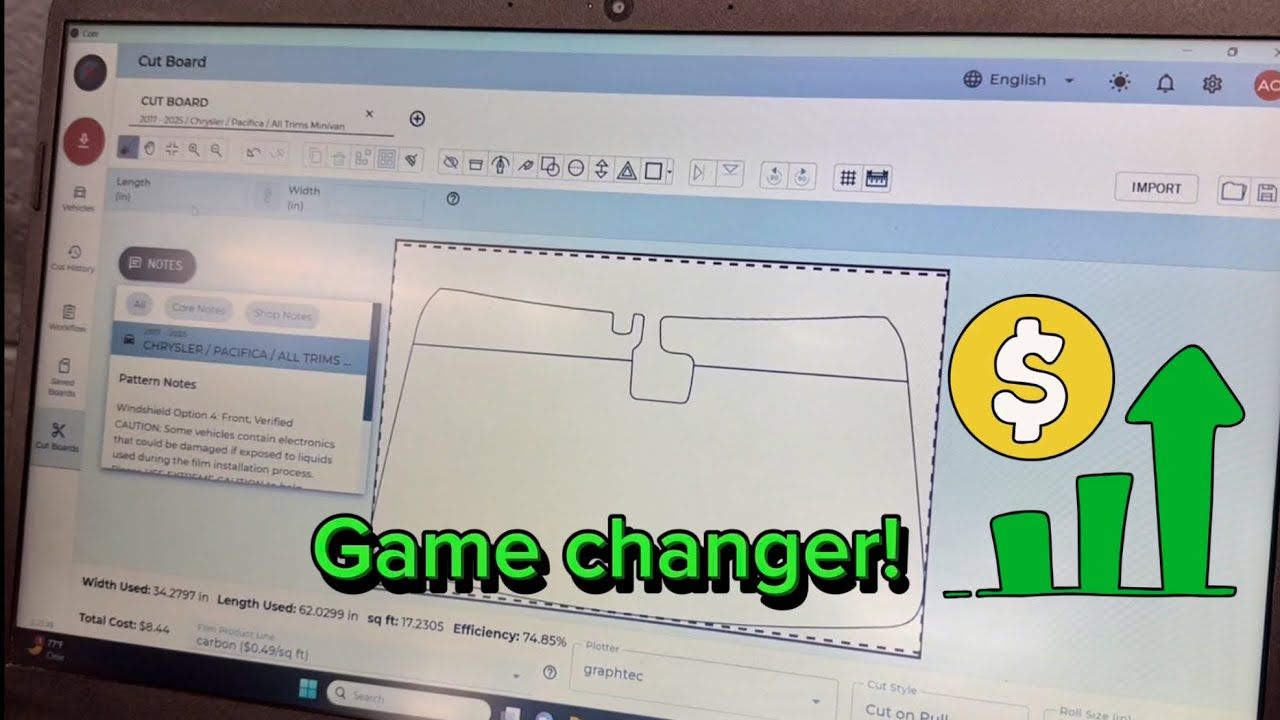
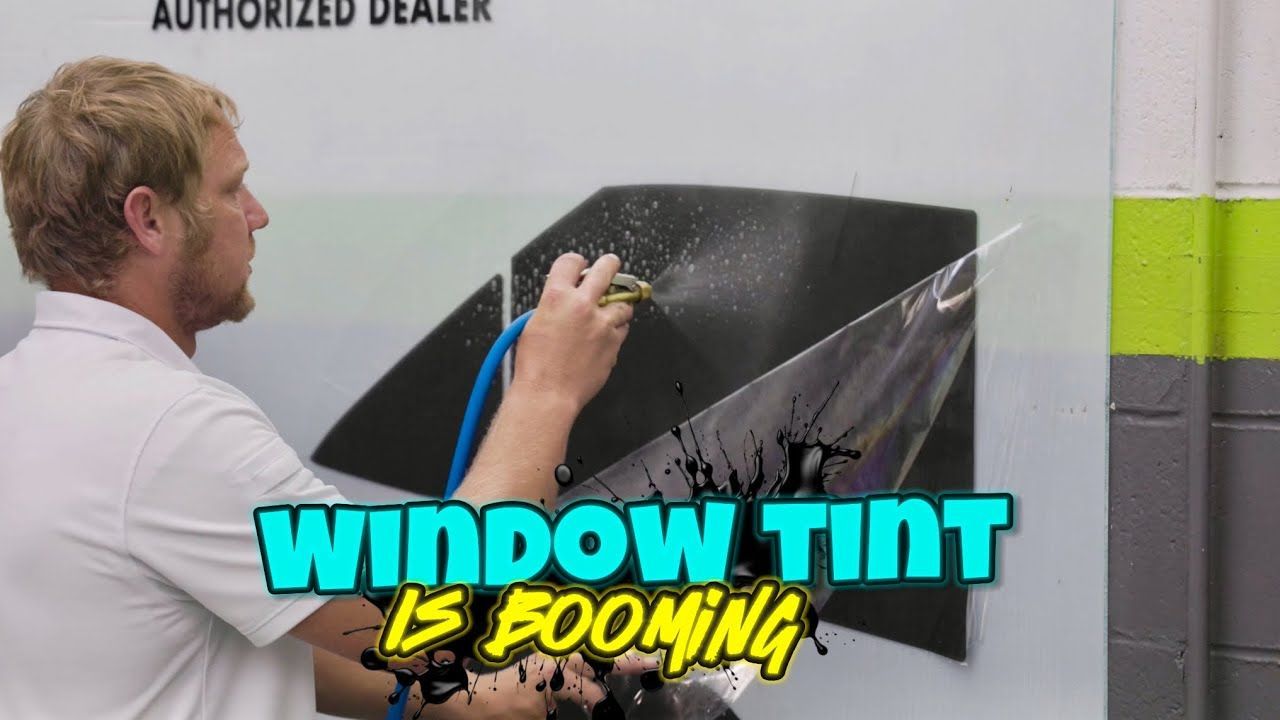
You’ve probably seen tint shops, detail shops, and dent shops around town. Finding one place that does all four — window tinting, PDR/SMART repair, paint correction, and high‑end ceramic coatings — is rare. Running a full‑stack auto appearance shop takes more than skill. It takes space, equipment, staffing, and the patience to do things right. That’s exactly what Mid‑Mo Dents built. Why this combo is hard to run • Different trades, different tools. PDR needs light bars and specialized metal skills; paint correction and ceramic coatings demand polishing gear, controlled wash and prep areas, and dust‑free cure space; tinting needs clean bays and film inventory; SMART repair requires both finesse and materials. • Staffing and training are intensive. Each service requires certified techs, ongoing training, and quality control standards. Keeping multiple specialists in one shop increases payroll and coordination demands. • Operational complexity. Managing bays, scheduling multi‑stage jobs, inventory for films/chemicals/parts, and insurance workflows for repair work adds administrative overhead most small shops avoid. • Upfront investment. Equipment, coatings inventory, film stock, and proper ventilation/lighting all add capital cost before the first job is booked. Why having all four services in one shop matters for you • Single point of accountability. No back‑and‑forth between businesses. If a vehicle needs dent repair, paint correction, and ceramic coating, one shop owns the whole process. • Faster, cleaner handoffs. Techs can coordinate the right sequence of work so repairs, paint correction, and coatings are applied in the ideal order without waiting on outside vendors. • Better outcomes and consistency. When the same team handles everything, the finish quality, cure timing, and final inspection standards are consistent. That directly protects your finish and resale value. • Cost and time savings. Bundled work reduces duplicated labor, multiple drop‑offs, and shipping of parts. You save time and often money compared with coordinating separate specialists. • Long‑term maintenance plan. A full‑service shop can offer a tailored program: PDR for small dings, paint correction to remove swirls, ceramic for protection, and tint for UV/heat control — all scheduled and maintained together. How Mid‑Mo Dents turns rarity into value • We staff specialists for each discipline and run dedicated bays for detailed prep, tint installs, and paint correction. • We sequence work to protect finishes and maximize product performance from day one. • We stand behind bundled services with consistent quality checks so your vehicle leaves finished and ready to stay that way. If you care about preserving appearance, protecting your paint, and saving time, trust the shop that can truly own the whole job. Book a free inspection and we’ll map the single plan that keeps your car looking its best for years.